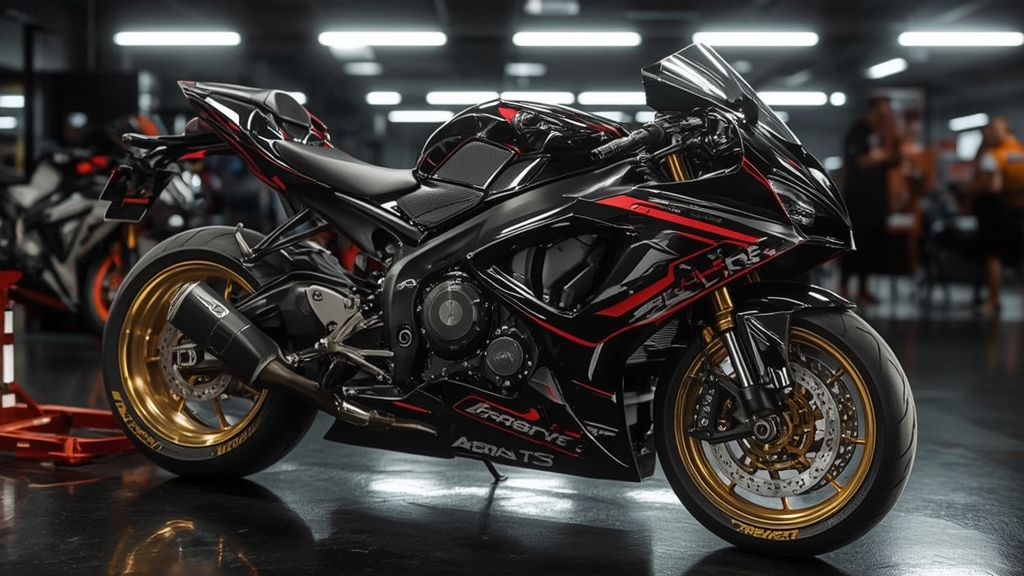
Motorsport Teknologi Canggih yang Dipakai di Dunia Motorsport by roberthughes October 17, 2025 Berikut adalah artikel yang Anda minta: Inovasi Tanpa Batas: Mengintip Teknologi Canggih di Balik Kecepatan…
Gaya Hidup & Konsumen Inovasi Konsumen untuk Kehidupan Global by roberthughes October 13, 2025 Berikut adalah artikelnya: Kekuatan di Tangan Kita: Inovasi Konsumen Mendorong Perubahan Global shocktherapyracing.com – Di…
Konsumen Internasional Konsumen Global dan Inovasi Terbaru by roberthughes October 8, 2025 Berikut artikelnya: Dinamika Konsumen Global: Bagaimana Inovasi Membentuk Pilihan Kita shocktherapyracing.com – Di era digital…
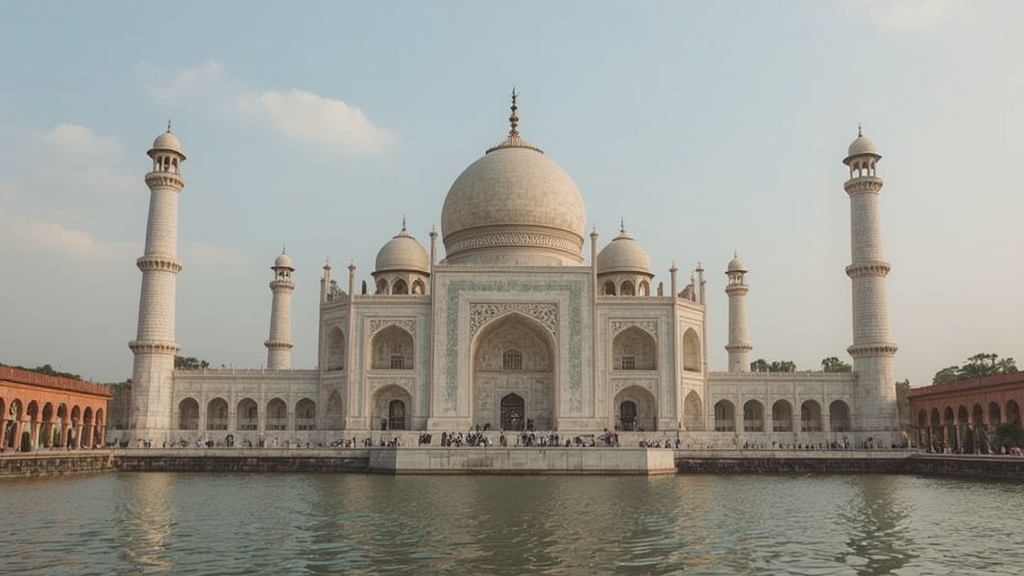
Wisata Dunia Wisata Dunia: Menjelajah Budaya, Alam, dan Modernitas by roberthughes October 2, 2025 Berikut adalah artikel dengan format yang diminta: “`html Petualangan Global: Menyatu dengan Budaya, Mengagumi Alam,…
Travel Jelajah Wisata Dunia yang Tak Pernah Usai by admin September 9, 2025November 15, 2025 Petualangan Tanpa Batas: Menggali Pesona Wisata Dunia yang Tak Berujung shocktherapyracing.com – Bermimpi menjelajahi dunia?…
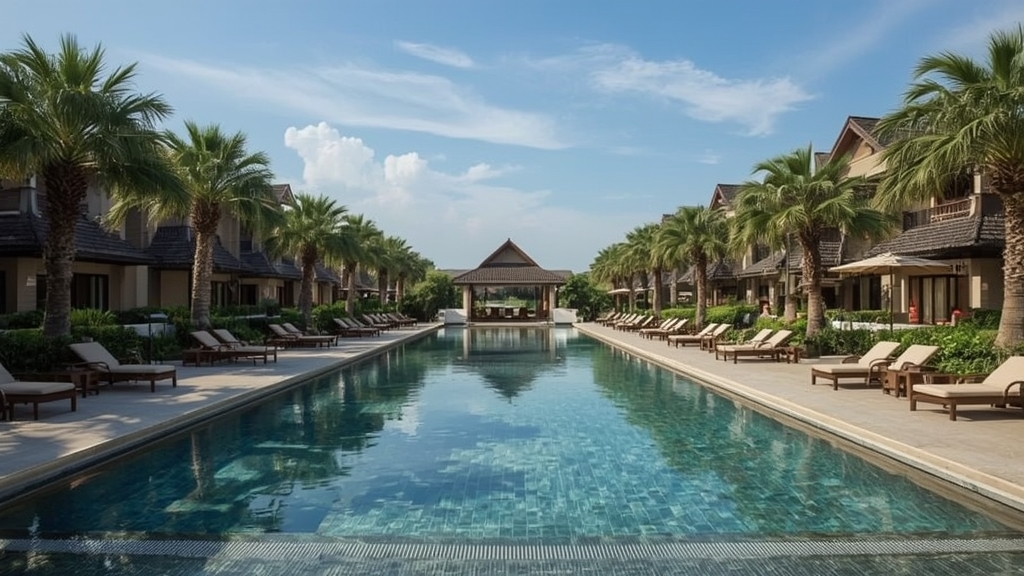
Recreation Rekomendasi Travel ke Pulau Tropis Eksotis by August 27, 2025 Jelajahi Surga Tersembunyi: Rekomendasi Pulau Tropis Eksotis untuk Liburan Impian shocktherapyracing.com – Siapa yang tak…
Uncategorized Shiobet: Platform Taruhan dengan Pilihan Game Terlengkap dan Bonus Terbesar by roberthughes October 26, 2024 shocktherapyracing – Selamat datang di platform taruhan Shiobet, destinasi terbaik bagi penggemar taruhan yang mencari…
Uncategorized Toto Gelap: Sejarah dan Popularitas Togel di Asia by roberthughes October 25, 2024October 25, 2024 Shocktherapyracing.com – Togel atau “Toto Gelap” telah menjadi fenomena unik di berbagai negara Asia. Permainan…
Uncategorized Idngoal: Mengapa Ini Jadi Pilihan Utama Para Pecinta Taruhan Online? by roberthughes October 24, 2024 shocktherapyracing – Dalam dunia taruhan online yang semakin berkembang, Idngoal muncul sebagai salah satu platform…
Uncategorized Keunggulan Teknologi Shock Therapy dalam Dunia Balap by roberthughes August 27, 2024 shocktherapyracing – Teknologi terus berkembang dengan pesat dalam berbagai aspek kehidupan, termasuk dalam dunia balap.…